

How To Optimise The Suction Power Of Your Vacuum Cleaner
Is your vacuum cleaner not sucking up dirt like it used to? Don't rush out to buy a new one! Often, a drop in performance isn't a sign of a dying machine, but rather an indication that a few simple maintenance steps are needed. Maximising your vacuum's suction power is easy and will ensure your cleaning sessions are as efficient as possible.
Why Suction Power Matters
Suction power is the heart of your vacuum’s performance. It’s what creates the airflow needed to lift and remove dirt, dust, and debris from your floors and carpets. When that airflow weakens, cleaning takes longer, surfaces stay dusty, and fine particles get left behind.
Many people assume that a vacuum losing suction is a sign of an ageing or failing motor, but in reality, most suction problems are caused by simple maintenance issues. Blocked filters, full dust bins, clogged hoses, or worn belts can all restrict airflow. Regularly checking these components helps your vacuum run more efficiently, improves cleaning performance, and extends the life of the machine.
What Affects Suction Power
Several factors can contribute to suction loss, and understanding them will help you troubleshoot faster. A full or clogged dust bin (or bag) is one of the most common culprits, as compacted debris restricts airflow before it even reaches the motor. Dirty filters, especially pre-motor or HEPA filters, also choke the system and reduce suction.
Blockages in hoses, tubes, or the floor head are another frequent issue, often caused by hair, small toys, or large particles trapped in narrow passages. Leaks from cracked hoses or worn rubber seals can also let air escape, weakening suction before it reaches the nozzle. Finally, stretched or broken belts can cause brush rolls to spin poorly, which reduces the vacuum’s ability to pick up dirt effectively.
By identifying which of these problems is affecting your vacuum, you can usually restore strong suction without needing any professional repair.
Step-by-Step: Restore Your Vacuum’s Suction
Now that you know what affects suction power, let’s get hands-on. The following steps walk you through a simple, systematic process to diagnose and fix weak suction, most of which can be done at home with basic tools.
1. Empty or Change the Bag/Container Regularly
This is the most common and easiest fix for weak suction.
- Bagged Vacuums: A full dust bag severely restricts airflow. Even if it's not completely full, a dense layer of fine dust on the inner surface can act like a filter, choking the suction. Replace the bag when it's about two-thirds full.
- Bagless Vacuums: The dust container should be emptied after every use, or at least before it passes the "MAX FILL" line. Dust and debris compact quickly, blocking the pathway to the motor and reducing power.
2. Clean or Replace the Filters
Your vacuum's filters protect the motor from fine dust particles. If they're clogged, airflow plummets, and your suction power drops dramatically.
- Check the Manual: Determine if your filters are washable or replaceable.
- Washable Filters: Rinse them under cool running water until the water runs clear. Crucially, allow them to air-dry completely, for at least 24 hours, before putting them back in the vacuum. Putting a damp filter in can damage the motor.
- Replaceable Filters: Check your manual for the recommended replacement schedule, typically every 6 to 12 months, and swap them out. Clean filters are essential for peak performance.
3. Clear Any Blockages and Clogs
Even a small wad of hair or a piece of paper can cause a significant bottleneck in your vacuum's system.
- Check the Hose: Remove the hose and hold it up to a light source. If you can't see through it, there's a clog. Use a long, blunt object (like a broom handle or an unbent wire coat hanger) to push the blockage through gently. Never use anything sharp that could pierce the hose.
- Check the Attachments and Wand: Disconnect all tubes and nozzles and inspect them for obstructions, especially at joints and bends.
- Inspect the Inlet Port: The port where the hose connects to the vacuum body can sometimes get blocked, particularly with pet hair or larger debris.
4. Maintain the Brush Roll
If your vacuum has a rotating brush roll (beater bar), its effectiveness is critical to proper pickup, even though it doesn't directly affect the motor's suction.
- Remove Entangled Hair and Fibres: Turn the vacuum off and unplug it. Use scissors or a seam ripper to carefully cut and remove hair, string, and thread wrapped around the brush roll. Too much buildup will stop the brush from spinning or slow it down significantly.
- Check the Belt: On older models, a loose, stretched, or broken drive belt will prevent the brush roll from spinning. Replace the belt if it appears damaged.
5. Inspect for Leaks and Damage
Suction is all about creating a robust seal. Any breach in the system will cause a loss of vacuum pressure.
- Examine the Hose: Look for tears, cracks, or holes in the flexible hose. These can often be repaired with strong, airtight duct tape, but if the damage is extensive, you may need a replacement hose.
- Check Seals and Gaskets: Ensure the dust container or bag compartment lid is properly closed and the rubber seals are intact and creating a tight fit against the machine's body.
6. (Advanced) Clean the Motor and Fan Housing
This is an advanced maintenance step, often reserved for older vacuums or when all other steps fail. Over time, fine dust can bypass the filters and accumulate on the motor's fan blades and within its housing, creating resistance and restricting airflow at the source of power.
SAFETY WARNING: Attempting to access the motor often requires partial disassembly and may void your warranty. Always unplug the vacuum and consult your owner's manual before proceeding. If you are not comfortable, consider professional servicing.
- Access the Motor Housing: Follow your vacuum's manual to locate and access the fan or motor area. This may require removing screws and internal components.
- Dust the Fan Blades: Once you can see the impeller (the fan that generates the suction), use a small, soft brush (like an old toothbrush) and a can of compressed air to gently remove caked-on dust and debris from the blades and surrounding housing. Do not use water or any liquid cleaner near the motor.
- Vacuum the Area: Use the hose attachment from a secondary vacuum (or a dustbuster) on a low setting to carefully suction up the loose dust you've dislodged.
- Reassemble: Carefully put all parts back together, ensuring all seals and gaskets are correctly placed for an airtight fit.
When It’s Time to Replace or Upgrade
Even with perfect maintenance, all vacuums have a lifespan. It may be time to replace or upgrade if:
- The motor struggles even after cleaning.
- Replacement parts cost more than half the price of a new unit.
- You want better performance or modern features such as HEPA filtration or cordless convenience.
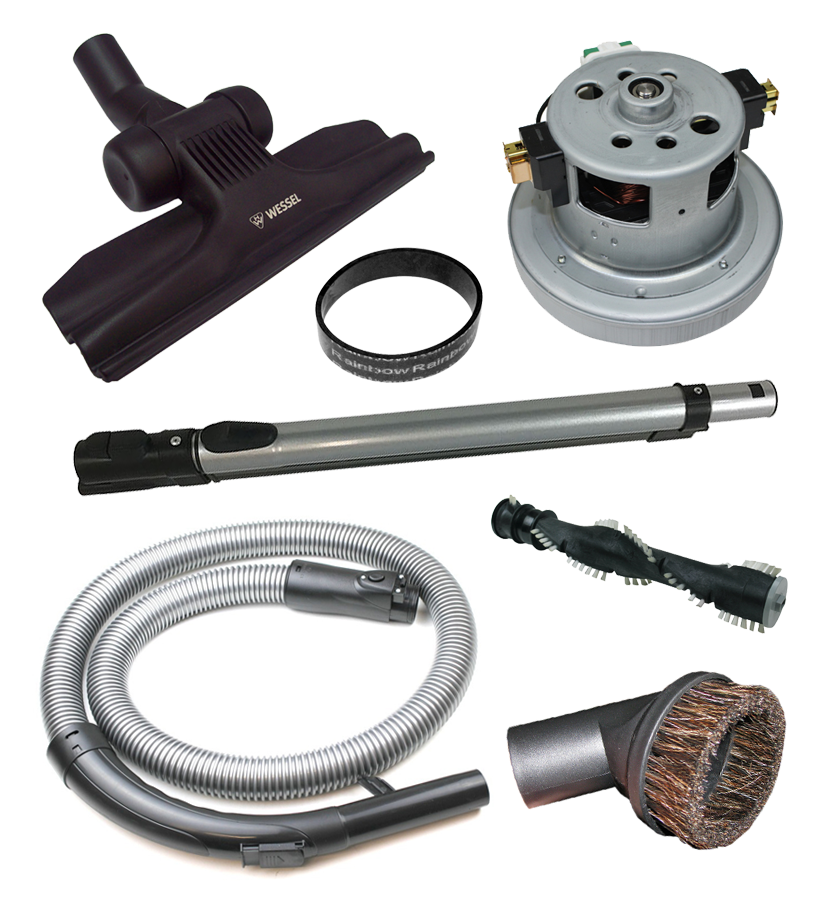
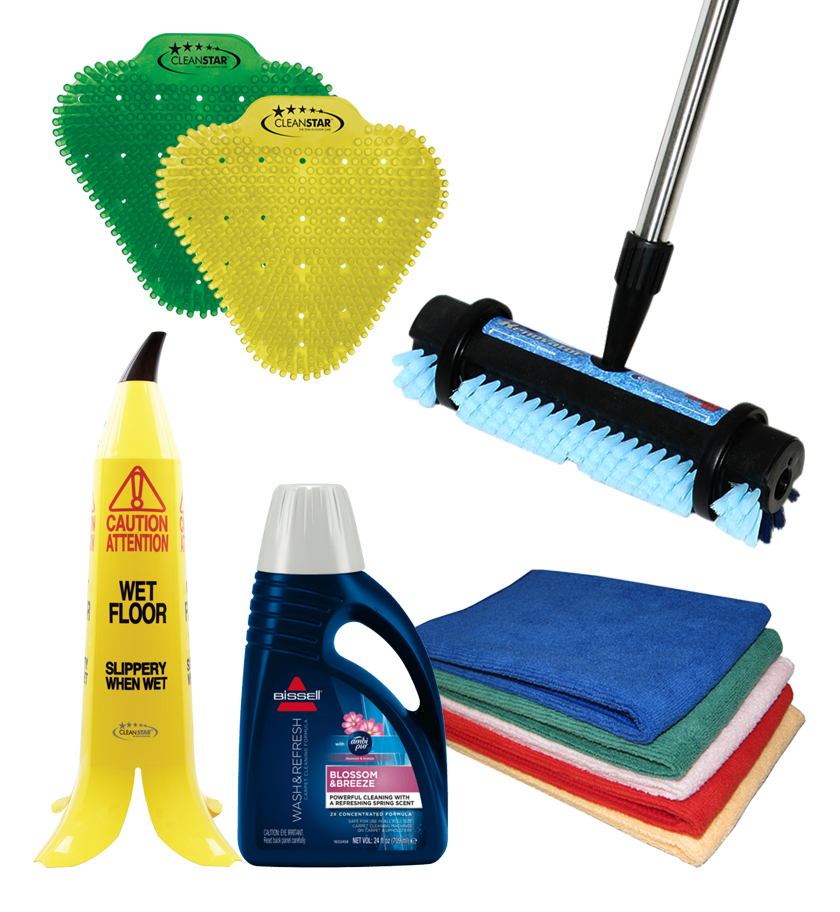
Vacuum Spot stocks a wide range of vacuum parts, filters, and accessories to help you repair or upgrade your existing model.
In conclusion: Restoring suction is often easier and cheaper than many people think. With regular maintenance of filters, hoses, brush rolls, and belts, your vacuum can perform like new and last for years longer.